アニメーションで画像をフュージョンさせる方法。Javascriptを用いてクリックで2枚の画像が徐々に切り替わるように設定します。
2枚の画像を用意
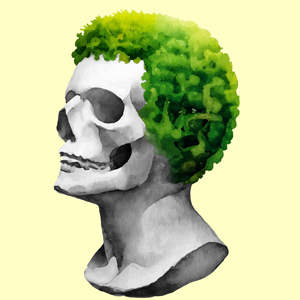
画像A
画像B
切り替えたいAとBの2枚の画像を用意します。サイズは違っても構いませんが、アスペクト比を合わせておく必要があります。
クリックで画像を切り替える
通常の切り替え
これはシンプルに画像Aと画像Bをクリックごとに切り替えるパターンです。
-

-
【JavaScript】触れる・クリックの両方で2枚の画像を切り替える方法【PC・スマホ対応】
続きを見る

クリックで画像をフュージョンさせる
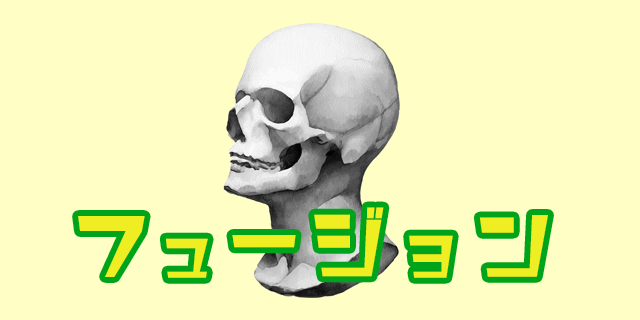
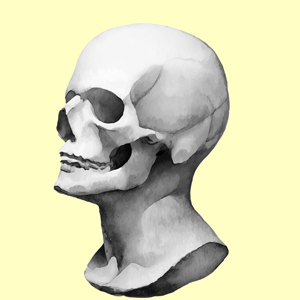
フュージョン切り替え
これはアニメーションで画像をフュージョンさせるパターンです。
画像Aをクリックすると徐々にじわぁ~っと画像Bに切り替わります。再度クリックすると、徐々にじわぁ~っと画像Aに戻ります。
画像Aと画像Bを重ね、Javascriptを用いて透明度opacityの値を徐々に変化させ、フュージョンしているように見せる、といったカラクリです。フュージョン中はクリックできないように制限をかけています。
ソースコード
JavaScriptコード
<script>
(function() {
    const animationConfig = {
        duration: 2000,  // 2秒
        easing: function easeInOutQuad(t) {
            return t < 0.5 ? 2 * t * t : 1 - Math.pow(-2 * t + 2, 2) / 2;
        }
    };

    function preloadImages(sources) {
        sources.forEach(src => {
            const img = new Image();
            img.src = src;
        });
    }

    function handleImageClick(event) {
        const container = event.target.closest('.fusion-container');
        if (!container) return;

        const bottomImg = container.querySelector('.bottom');
        const topImg = container.querySelector('.top');
        container.style.pointerEvents = 'none';

        let progress = 0;
        const startTime = performance.now();

        function animate(currentTime) {
            progress = (currentTime - startTime) / animationConfig.duration;
            if (progress < 1) {
                const easeProgress = animationConfig.easing(progress);
                topImg.style.opacity = easeProgress;
                requestAnimationFrame(animate);
            } else {
                topImg.style.opacity = 1;
                [bottomImg.src, topImg.src] = [topImg.src, bottomImg.src];
                topImg.style.opacity = 0;
                container.style.pointerEvents = 'auto';
            }
        }

        requestAnimationFrame(animate);
    }

    document.addEventListener('click', function(event) {
        const container = event.target.closest('.fusion-container');
        if (container) {
            handleImageClick(event);
        }
    });

    document.querySelectorAll('.fusion-container').forEach(container => {
        const bottomSrc = container.querySelector('.bottom').getAttribute('data-src-a');
        const topSrc = container.querySelector('.top').getAttribute('data-src-b');
        preloadImages([bottomSrc, topSrc]);
    });
})();
</script>
JavaScriptコードは</body>の前に入れます。
3行目のduration: 2000はフュージョンする時間(ミリ秒)を表します。3500にすれば3.5秒になります。
HTMLコード
<div class="fusion-container" style="position: relative; width: 100%; max-width: 200px; height: 200px; cursor: pointer;">
  <img src="a.jpg" class="fusion-img bottom" data-src-a="a.jpg" data-src-b="b.jpg" style="position: absolute; top: 0; left: 0; width: 100%; height: 100%; object-fit: cover;">
  <img src="b.jpg" class="fusion-img top" data-src-a="a.jpg" data-src-b="b.jpg" style="position: absolute; top: 0; left: 0; width: 100%; height: 100%; opacity: 0; object-fit: cover;">
</div>
a.jpgとb.jpgを各3箇所ずつ設定します。初期表示はa.jpgです。
画像のサイズはmax-width: 200px;、height: 200px;と設定しています。画像サイズに応じてイジってください。
画像に触れた時にカーソルが手の形になるようcursor: pointer;を設定しています。これはクリックできる要素だよ~とわかりやすくするためですが、普通のカーソルのままがよければ削除してください。
JavaScriptを使わないシンプルなパターン
簡易フュージョン切り替え
HTMLとCSSだけでも似たようなことができます。
画像Aと画像Bが切り替わる瞬間に画像が若干薄れて見える、アニメーション中にクリックできてしまう、という欠点はありますが、JavaScriptを使わないので実装は簡単です。